When it comes to choosing a concrete sealer you are probably overwhelmed by the plethora of options and information available on the internet. Ho do you know which one to choose. Which sites are reliable sources of information. What is the difference between a concrete sealer and a concrete coating. These are the type of questions that can keep someone searching for a concrete sealer up at night. And these are questions we receive on a daily basis. There is no one size fits all concrete sealer since no two substrates are alike. The concrete sealer you would use to seal your basement is not necessarily the same product that you should use on your patio. There are of course exceptions to this rule, but that is why we have come up with a check list to help you narrow down what the best concrete sealer is going to be.
Before we continue, let us define a few key terms that will be important. Application: an application is what you are trying to seal. For example a basement, driveway or patio. Substrate: a substrate is the type of material composition. For example concrete, brick, stone, stucco, slate. Finish: the finish is the level of shine you are looking for out of the product. For example flat, satin, gloss. The finishes are similar to paint finishes. Chemistry: the chemistry is the actual chemical make up of the product. For example, acrylic, epoxy or urethane. Square footage: before you can determine how many gallons of sealer you need, you must calculate the square feet or size of the project. For horizontal applications this can be calculated by measuring the length times width of say a garage or driveway. For vertical application you would follow the same calculations but if you are measuring basement walls you will need to add the square footage of each wall together.
Steps to choosing the best concrete sealer
- Application: narrow down your application and substrate. What are you trying to seal. Is it composed of concrete, brick, stone, slate, stucco? You cannot choose the best concrete sealer if you don’t know what you are sealing. Before continuing your research determine the substrate and the application.
- Location: Where do you live and what type of weathering will the sealer be composed to. Are you looking to seal indoor concrete or outdoor concrete? Identifying your location will help to determine the category of chemistry especially for outdoor applications. For example you do not want to be using a water-based acrylic on a driveway exposed to road salts unless you are okay with re-sealing the concrete every few months.
- Finish: Determine your ideal finish And we say ideal because some times the desired finish is just not practical and will need to be compromised for better longevity and performance. High gloss, wet look sealers look great but they are not going to be a one time clean it and forget it sealer. Determine if you are willing to make a sacrifice or if the final overall appearance is non-negotiable.
- Chemistry: This next category will require a little more research. Determine what the best chemistry will be for your intended application. For example, concrete driveways in northern climates are best sealed with a silane or silane/siloxane based chemistry. Silanes and siloxanes have been proven & tested to reduce road salts and magnesium chloride damage in concrete. On the other hand epoxies are best suited for interior applications since they are not UV stable and have exceptional stain resistance when compared with penetrating sealers.
- Quality/Longevity: Quality and longevity go hand in hand. The better quality, higher actives a product is composed of, the longer it will last. For example a 100% silane will last a lot longer than a 10% actives silane. Think about it like juice. If juice is 100% juice that means there is no added water, sugar or flavorings. Whereas a 10% juice is watered down and has all sorts of fillers and additives. When it comes to penetrating sealers 100% actives is best and will ensure the longest lifespan. But they are also going to be the most expensive. When it comes to penetrating sealers 40% actives tend to be a great alternative since they are what the Department of Transportation specifies on roadways and bridges. Lower quality sealers are often watered down or made with inferior ingredients. The saying you get what you pay for applies to concrete sealers.
- Price: Which brings us to our next point. Just because a sealer is only $30 per gallon does not mean that it is the best investment. The only time buying a $30/gallon bottle of concrete sealer is a good idea is if you are moving and don’t care about it not lasting. It is like buying an expensive jacket. You take into account the price per wear. Even though the upfront expense is costly, you will wear it every day for ten years. It is much more economical than buying a new jacket every year. The same goes for concrete sealer. You can use a $200 sealer to seal your concrete driveway and have it last 10 years, or you can use a $40 concrete sealer that will need to be reapplied yearly. The initial sticker price may be hard to swallow but you will save time and labor in the long run.
General recommendations
You can read our in depth review here where we overview the best concrete sealers in detail.
Siloxa-Tek 8500 is an all around favorite because it can be used on virtually any substrate and will work on all applications. It is a 40% actives silane/siloxane which means it will work to prevent spalling and road salt damage. It is also an excellent waterproofing concrete sealer that you can see working with its exceptional water beading. If you are looking for staining and oil resistance its counterpart Siloxa-Tek 8510 is an even better option. It is 95% actives so it is more expensive but will last longer and make stains easy to clean.
Follow the step-by-step application instructions in order to learn how to seal concrete.
Concrete sealer application tools:
- Pump sprayer
- Nap roller 3/8″ or 1/4″
- Paint tray
- Paint brush
- Empty 5 gallon bucket for mixing
- Paint stirrer
- Gloves and safety goggles
Surface preparation: how to seal old concrete
- Remove all standing dirt and debris.
- Remove all oil, grease, paint and previous concrete sealers.
- Make sure concrete is clean and dry and the application temperatures are above freezing.
- Fill in any cracks with crack repair kit.
Surface preparation: how to seal new concrete
- Remove all standing dirt and debris.
- Make sure concrete is clean and dry and the application temperatures are above freezing.
How to Clean Concrete Before Sealing
Surface preparation: How to remove an old concrete sealer before using a new concrete sealer
- Determine if the old concrete sealer was a water based concrete sealer or a solvent based concrete sealer by pouring xylene on an area where the old sealer is present.
- Let the xylene sit on the concrete for 20 seconds. If the area is tacky the concrete was sealed with a solvent based sealer. If the concrete is not tacky the concrete was sealed with a water based sealer.
- To remove an old solvent based sealer use a chemical stripper like xylene.
- To remove an old water based sealer use muriatic acid to etch the concrete or a chemical concrete sealer and coating remover.
How to Remove a Concrete Sealer
How to seal concrete: How to apply a penetrating concrete sealer:
See the Best Concrete Sealers for 2017 review to see what penetrating concrete sealer products we recommend.
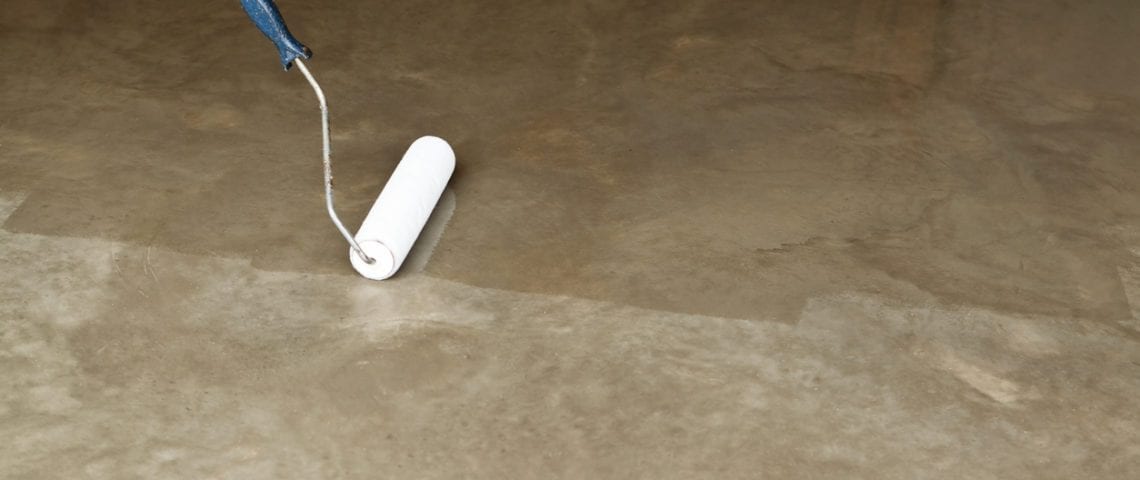
- Pour the concrete sealer into a pump up sprayer to spray apply or pour the concrete sealer into a paint tray to roll apply the concrete sealer.
- Apply the concrete sealer in a thin and uniform coat. If there are any puddles make sure to roll them out.
- Penetrating concrete sealers generally require two coats. The two coats are applied in succession one after another with no time in between them.
How to seal concrete: How to apply a decorative concrete sealer:
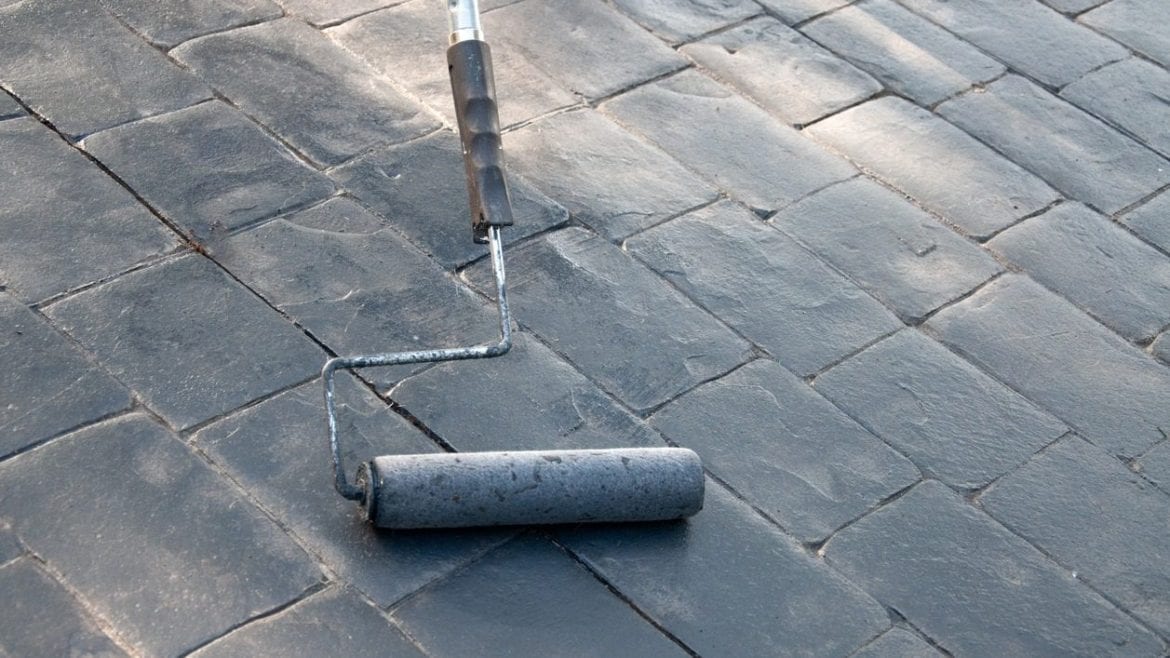
Decorative concrete sealers are usually acrylic concrete sealers that are best applied with a roller.
- Stir/mix the concrete sealer well
- Pour into a paint tray
- Dip the roller into the paint tray and roll onto the concrete
- Apply the concrete sealer in thin coats making sure not to over apply
Use muriatic acid or another acid etching material such as Klean Strip Green Muriatic Acid, a safer muriatic acid or Hydro-Etch 1000 which is a modified phosphoric acid which is not as harmful as traditional muriatic acids. Muriactic acid is one of the most dangerous chemicals you can buy for home use and it can damage nearly everything it touches. We really like the Hydro-Etch 1000 product since in most cases it does just as good of a job as muriatic acid but with less danger. It is also an excellent choice when you are looking to remove efflorescence from concrete and masonry substrates.
Acid Etching Process:
Remove all furniture, equipment and objects from the concrete floor you are going to be etching, sweep up or shop vacuum any dust and dirt.
Remove all oils and greases prior to etching, this can be done by using a degreaser, laundry detergent or Dawn concentrated dish soap.
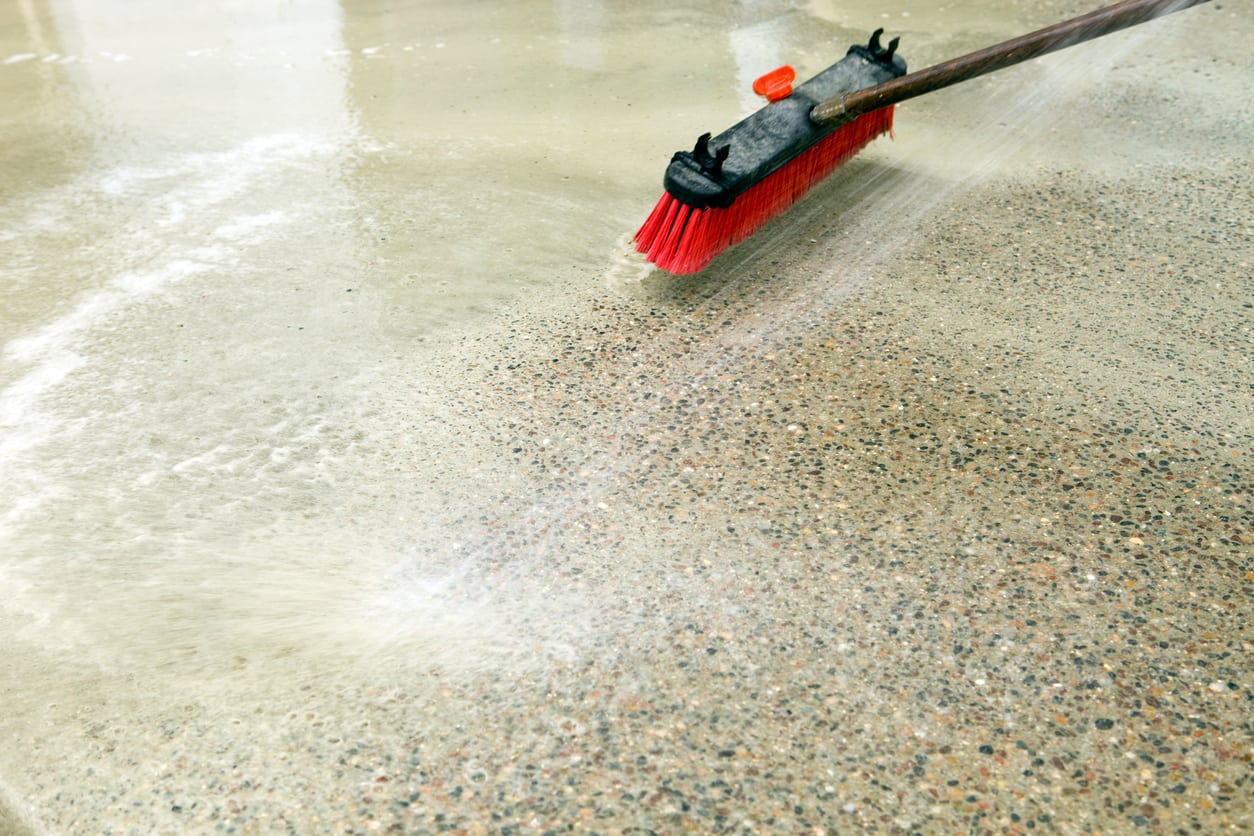
Hose down the entire area you are going to be etching. Spread the water and make sure it is not pooling or puddling, the concrete should remain this wet throughout the acid etching process.
The usual dilution ratio is 3 to 4 parts water to 1 part acid. Do not use a metal container to mix the acid and water. Important: Always pour acid into water, never pour water into acid since the acid can splash back into your face and lead to injury. During the mixing stage wear long sleeves, gloves, eye protection and a face mask to protect against fumes.
After the acid is mixed with water test in a small area to make sure the ratio is accurate, you will be able to tell since the concrete will begin to bubble and react. If you dont see bubbles when the acid first comes into contact with the concrete the mixture is not strong enough.
It is easiest to use a sprayer or watering can to apply the mixed acid to the floor. After spraying acid on the floor you can use a squeegee or floor machine to spread the acid mixture. Remember that the floor needs to stay wet throughout the entire acid etching process. Do not let the acid dry on the floor, if you notice that it is starting to dry you will need to hose down the areas.
After the acid has been applied wait about 2-15 minutes for the floor to stop bubbling. Throughout this process the acid is reacting with the floor, opening up the pores of the concrete preparing it to accept a sealer. If there are spots where the acid is not reacting with the concrete there could be residual oil or grease left on the floor and you may need to use a floor grinder to prepare the floor in these areas.
After the 2-15 minutes rinse off the acid from the floor. The next step is to neutralize the surface and reduce the pH of the concrete. You can neutralize the concrete using 1 cup baking soda dissolved in 1 cup water or 4 ounces of household ammonia mixed into 1 gallon of water. Let the neutralizing solution sit for a minimum of 10 minutes. You can then rinse off the neutralizing solution and drain it or shop vacuum it up.
The concrete should now have a cleaner, brighter appearance and it should have the texture of medium grit sandpaper. Rinse the concrete twice and suck up the excess with a shop vacuum. If the concrete is not rinsed enough a white powdery residue will be left on the floor when it dries. This can be removed by rinsing the concrete again.
Helpful Tips:
- Wear protective clothing such as safety googles, gloves, long sleeves and close toe shoes.
- Do not breathe fumes, and use a face mask respirator
- ALWAYS POUR ACID INTO WATER, NOT water into acid.
- Effective pH levels prior to applying a sealer or coating are 6.0-9.0. If the range is below 6.0 there may still be acid residue in the pores of the concrete.
- Use a plastic drop cloth to protect anything you don’t want to get splashed.
- Don’t acid etch in weather below 50 degrees F.
- After etching make sure the floor has dried out before applying a concrete sealer or coating.
The post is based on a very informative article on wikiHow.com titled, How to Acid Etch Concrete.
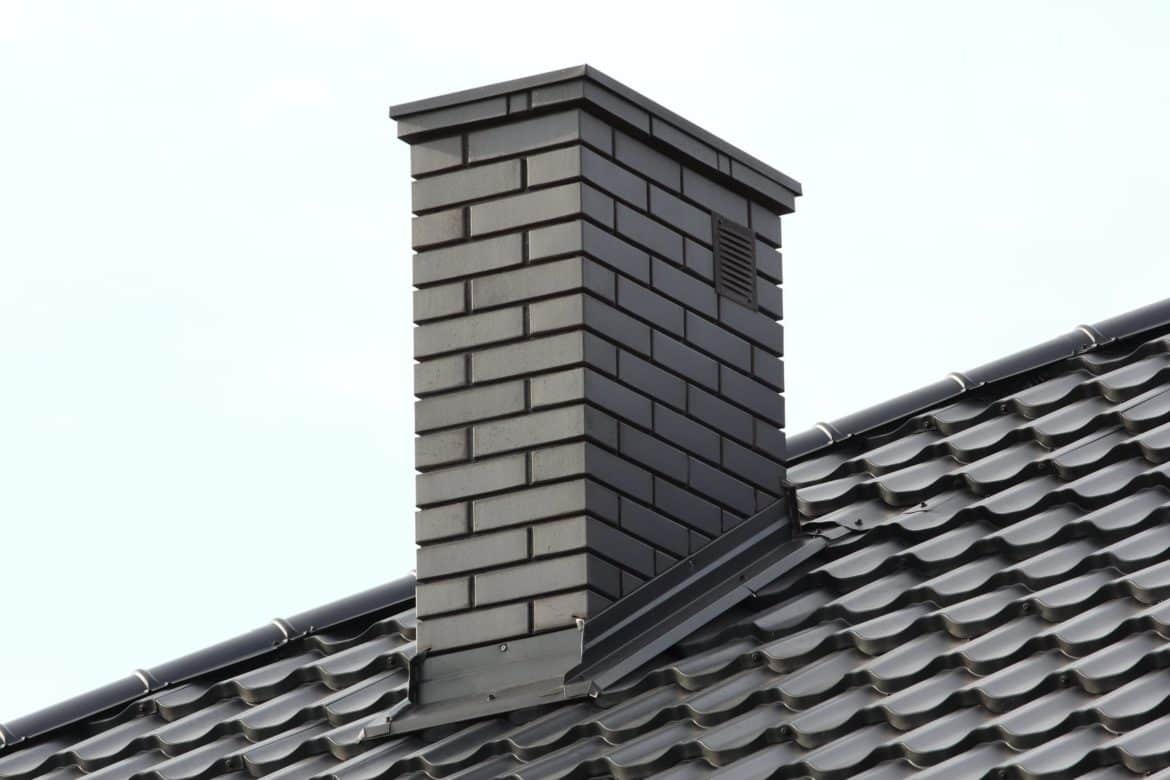
One of the most frustrating scenes to walk into is a leaking chimney. It is one of the applications that you don’t give much thought to until it is too late. Because bricks, stone, masonry are extremely porous they are at high risk of leakage if left unsealed. In order to prevent water leakage, mold, mildew and efflorescence from occurring to your chimney these are the steps to take:
- Clean the chimney, make sure all mold, mildew and efflorescence are completely removed.
- Fix any cracks in the mortar, or if the chimney is severely damaged re-point the chimney.
- Use a waterproofing sealer, like this one found at homedepot.com which is a silane/siloxane blend that will waterproof and protect your chimney from future leaks and water damage for over 10 years.
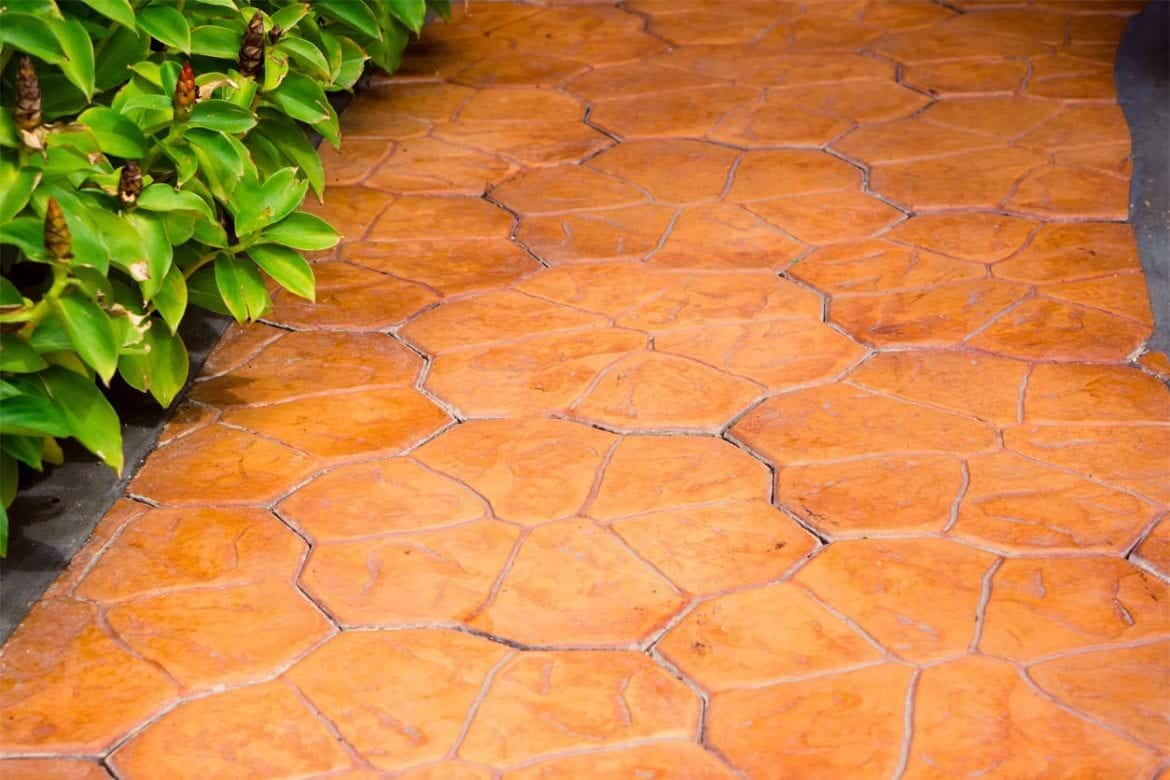
There are a few different options when it comes to coloring concrete:
1. Integral coloring
Integral color is used when new concrete is being poured to add color to the concrete during the mixing process. The color is either in liquid or powder form and allows color to be added to the entire depth of the slab. This allows for a uniform color for a large amount of square footage.
2. Shake on color
Shake on color is used on new concrete by broadcasting small pigments of powder that work their way into the concrete. Water from the newly poured concrete wets the powder and causes the the color to bond with the top layer of concrete.
3. Acid Stains
Acid stains are chemically reactive and react with minerals in the concrete to create a unique, durable color effect. Acid stains are hazardous and must be neutralized after application. Acid stains can be used on new or old concrete slabs.
4. Acetone dyes
Acetone stains and dyes are solvent based and hazardous but can create vivid beautiful colors. They are not UV stable so a protective sealer should be used on top of an acetone dye to lock in the color.
5. Water-based dyes
Water based dyes are safe and easy to apply with all of the colors able to be mixed together to create patterns and effects. Since they are not UV stable a protective sealer should be used on top of water based dyes to lock in the color.
6. Color densifiers
Color densifiers are a new technology in which a colored, water based, lithium silicate solution is used. They allow you to densify the concrete while coloring it in the same step. The color densifiers are UV stable but a protective sealer can be used on top of a color densifier to lock in the color and add an additional sheen.
While concrete is exceptionally strong, one of the biggest potential threats to undermining that threat can be found in the form of moisture. Somewhat paradoxically, moisture is actually an integral part of concrete from its very beginnings. Concrete is created by mixing together Portland cement, some sort of aggregate, and water. Without water, the concrete would not adhere and bond together so strongly. Furthermore, during the curing process after the concrete is poured, the moisture levels of the concrete have to be kept stable, which often requires a sprinkler to douse the concrete with water constantly.
If concrete requires a certain amount of moisture, why do all of these concrete sealing products claim to prevent the passage of moisture through your concrete? Well, what these products really mean is that they will prevent the passage and entrance of excess moisture through and into your concrete. A certain level of moisture and moisture passage is healthy for a concrete slab – without it, the concrete will likely crack and crumble from excessive dryness. Therefore, a certain level of moisture needs to be in the concrete for it to reach its maximum potential.
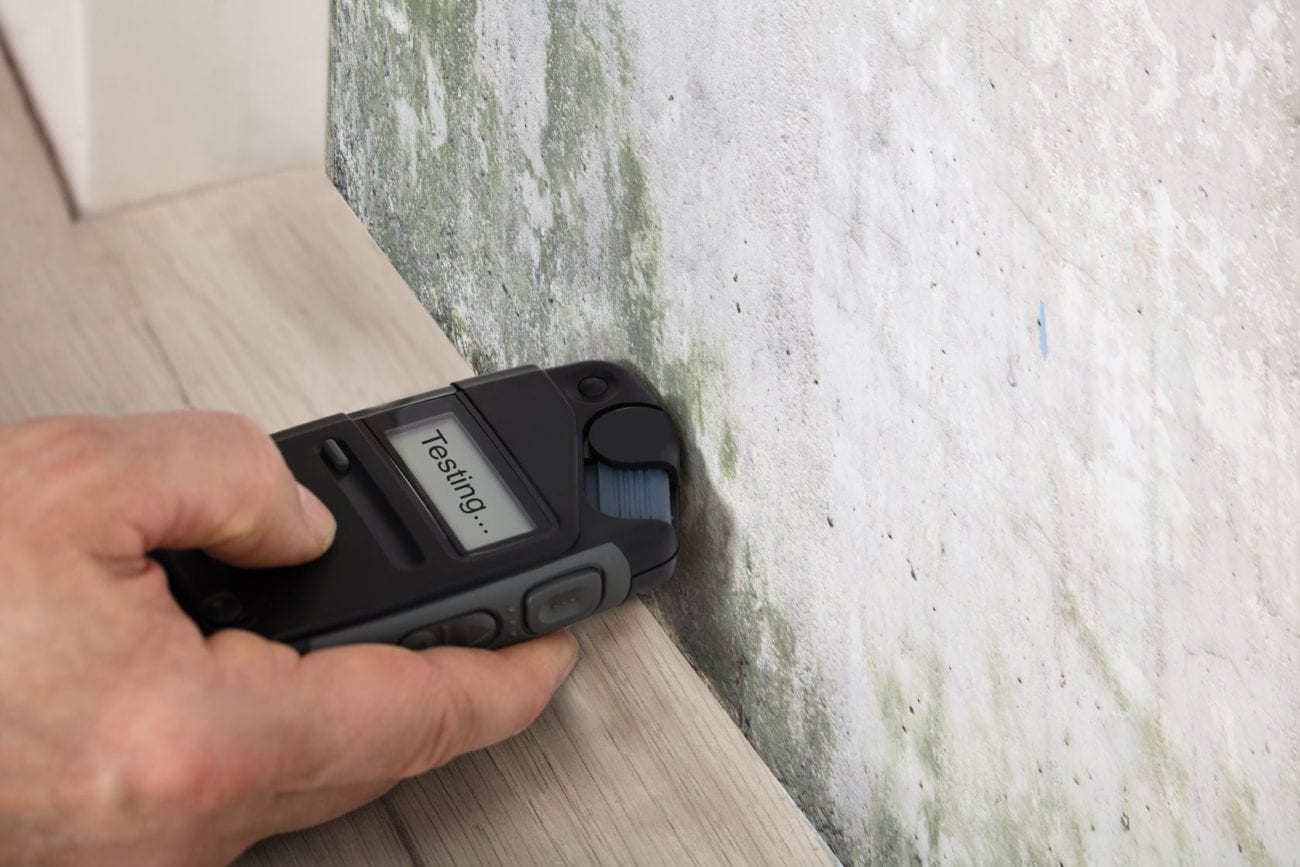
This is where the concept of relative humidity comes in. All concrete needs to be kept at a certain stable reading of relative humidity for its strength to be achieved. Relative humidity is simply a measure of the amount of moisture in the slab. Testing for relative humidity is an easy process that involves using special relative humidity probes that you can insert into the concrete. Once within the concrete via a small hole, the probe will measure and record the percentage of moisture (the relative humidity) in your concrete. If the moisture is acceptable, then there are no problems. However, if the level of moisture is too high, you’ll need to take the appropriate steps to lock out that moisture in the future.
- 1
- 2

