
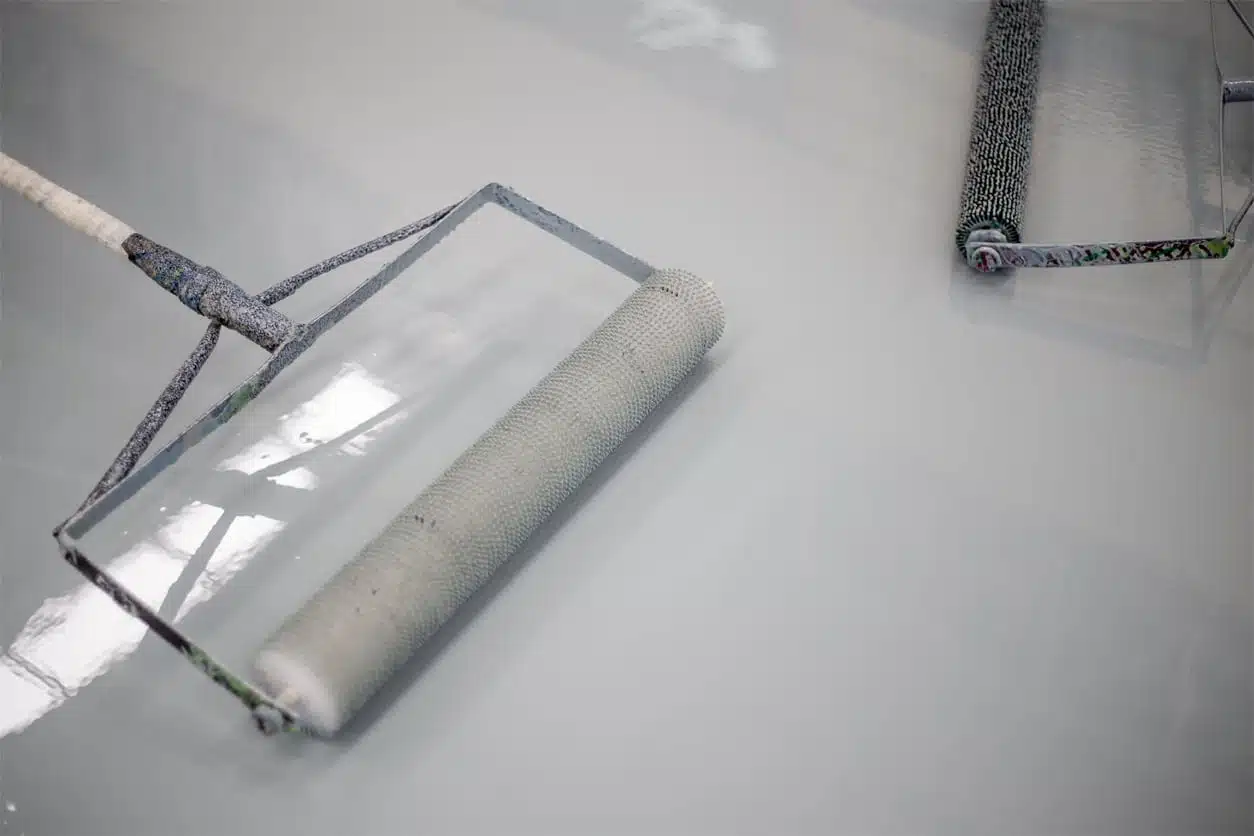
Polyaspartics are fast becoming a veritable wonder product on the concrete sealer market today. These products are relatively new derivatives of the traditional aliphatic urethanes that have been around for a lot longer. Aliphatic urethanes are typically used as topcoats that feature incredibly strong levels of resistance to the most extreme weather conditions, water exposure, heat, abrasions, and other such threats to concrete. While urethanes are typically used as the topcoats in concert with epoxy base layers, they can also stand on their own.
Polyaspartics are newer product that are similar to urethanes. The biggest difference between a polyaspartic concrete sealer and a traditional urethane is that the polyaspartics feature incredibly short dry times. They can be applied to the large floor of a retail store, for instance, only to dry completely overnight and be ready for the store to open for full service the next day.
However, the biggest drawback to polyaspartics is their short pot-life. The pot-life is the technical jargon term for the amount of time before being applied that a solution can last without being ruined. That is to say, once you mix a polyaspartic, it all has to be applied within a certain (short) period of time before it becomes unusable. A short pot-life is typical for a product that cures rapidly, as do polyaspartics. And, while this can be an inconvenience, it is not the end of the world, as there are proven ways to work around the limitation.
A general rule of thumb is that polyaspartics with a lower solids content will have a longer pot-life. Polyaspartics typically have a solids content between 70% to 100%; therefore, a product with a solids content of 70% will have a longer pot-life than a product with a 100% solids content. Another factor that makes the pot-life shorter is the amount of moisture, typically in the form of humidity, that the mixed polyaspartic is exposed to – the more moisture/humidity, the shorter the pot-life.
In order to extend the effectiveness of the polyaspartic, it is best to mix small amounts of the product more often in order to work around the short pot-life. As polyaspartics need to be mixed together before use, it is best to mix as you go, applying the polyaspartic between mixing breaks (even if this means mixing more often), in order to maximize the potential.
Related Guides

Concrete lasts for an incredibly long period of time, especially when it is properly treated soon after it has been mixed, poured, and cured. Protected by a concrete sealer, concrete can withstand the elements, freeze/thaw cycles, UV damage, abrasions, water damage, and the myriad forms of wear that accumulate over time. However, concrete sealers do not last indefinitely unless you have opted to use a penetrating sealer. As these sealers actually strengthen the concrete by changing its chemical make-up, penetrating sealers do not need to be reapplied.
Surface sealers, on the other hand, need periodic reapplication, though that will depend on your particular concrete project. Some, like epoxies, will last longer than others, like acrylics; water-based sealers will typically not last as long as solvent-based offerings. Before you can reapply a sealer, however, it is important that remove all the last vestiges of the old sealer in order to ensure maximum protection from the new application. As surface sealers bond to the surface of the concrete, the presence of old sealer can impede that adhesion process.
The easiest way to remove a concrete sealer is to begin by acid etching the surface of the concrete with muriatic acid. This process can be dangerous if you are unfamiliar with it; however, it is well within the ability of any ordinary homeowner, as long as the proper care is taken. To acid etch, you must first dilute the acid, which minimizes its potential danger. Then you must spray the concrete surface with the acid, scrubbing vigorously. Next, you have to neutralize the acid before washing down the concrete surface for a final time.
The acid etching process will remove the old concrete sealer completely from the concrete slab. In its place will stand a fresh slab of concrete ready for a new application of concrete sealer. Once the concrete has been acid etched, you need to let the slab dry completely before applying the new sealer. If the slab is wet, or if there is any sort of debris obstructing the surface, the new coat of sealer will not bond as well as it should, leaving your concrete open to potential problems. Once dry, you are now free to apply the new coat of concrete sealer, which should last you until you need to repeat the process all over again.
Related Guides

If you did not treat your concrete with a concrete sealer after it was installed and cured, it is a really good idea to do so as soon as you can. This website documents the benefits of concrete sealers, which are far from reputable. Concrete sealers enhance the protection, strength, and longevity of your concrete, helping them reach their full potential without problems and costly repairs. However, if you have not yet treated your concrete with a concrete sealer, it is important to properly prepare the concrete slabs before applying a sealer. Without proper preparation, the concrete sealer will not work as well as it could and should.
Concrete sealers come in two varieties: penetrating and surface. The penetrating sealers are made up of solutions that contain small particles of sealant that will penetrate past the surface of concrete to react chemically within the material. However, if the concrete is older and has not been treated with a sealer, the surface pores are likely clogged up with debris and various pieces of dirt that will block the sealer’s particles from penetrating into the concrete. Instead of protection, you will have a complete mess on your hands.
The same goes for surface sealers. These products are made up of solutions with large particles of sealant. Instead of penetrating past the surface, these sealers bond to the surface of the concrete substrate. However, if the concrete is dirty and has not been cleaned, then the concrete sealer will not bond to the surface of the concrete. It will instead bond to that dirt, if it bonds at all, leaving the concrete vulnerable to all kinds of potential problems.
In order to properly seal your concrete, then, you must clean the surface of the substrate before applying a concrete sealer of any variety. The easiest and most effective way to clean the concrete will vary depending on the condition of your concrete and whether it has been treated with chemical stains. However, if you want a general cleaning regimen, you should first sweep the floor to remove any surface detritus. Next, you should scrub the floor vigorously with a chemical cleaner, such as a trisodium phosphate (TSP). A product like that will help remove all dirt from the surface pores of your concrete, nicely preparing it for the application of a concrete sealer.
Related Guides
- 1
- 2