

Affiliate disclosure: Some links on this page are affiliate links. As an Amazon Associate we earn from qualifying purchases, at no extra cost to you.
Concrete is strong, but it’s not invincible. Without protection, it can absorb moisture, crack from freeze-thaw cycles, degrade from salt and chemicals, and discolor with time. That’s where concrete sealers come in—a vital but often overlooked step in preserving, strengthening, and beautifying concrete surfaces.
This comprehensive 2026 guide will walk you through everything you need to know about concrete sealers: types, climate considerations, surface prep, application methods, durability, and product comparisons.
1. Types of Concrete Sealers
Concrete sealers generally fall into two categories: penetrating and film-forming.
a) Penetrating Sealers
These sealers absorb into the concrete and chemically react to create a barrier beneath the surface. They’re known for durability and natural finishes.
- Silane/Siloxane: Excellent for exterior use, especially driveways and sidewalks.
- Silicate: Densifies and strengthens concrete, often used for polishing or as a base layer.
- Siliconate: Water-repellent and cost-effective for residential driveways.
Best for: Freeze-thaw environments, salt exposure, and water resistance.
b) Film-Forming Sealers
These create a visible protective layer on top of the concrete.
- Acrylic: Available in water or solvent-based versions; enhances color and adds sheen.
- Epoxy: Very durable and chemical-resistant, used for garages and industrial settings.
- Polyurethane: High-gloss, abrasion-resistant option for decorative or high-traffic surfaces.
Best for: Decorative concrete, interiors, stamped or stained concrete.
2. Climate & Environmental Considerations
Your local climate plays a significant role in determining which type of sealer to use.
- Cold climates (freeze-thaw): Penetrating sealers with silane/siloxane blends help protect against cracking from expansion.
- Hot/humid regions: UV-resistant acrylics or breathable penetrating sealers are preferred to prevent blistering.
- Coastal/snowbelt areas: Products with salt and chloride resistance are crucial to prevent spalling and surface degradation.
3. Surface Preparation: The Key to Performance
Improper preparation is the #1 reason sealers fail. Before sealing:
- Clean the surface thoroughly (remove oils, stains, dust, efflorescence).
- Use a degreaser or etching solution for smooth or previously sealed concrete.
- Ensure the concrete is fully cured (at least 28 days old).
- Test moisture levels—especially for garage floors or basements.
4. Application Methods: Do It Right
Each product comes with specific instructions, but here are general application tips:
- Tools: Use a sprayer for penetrating sealers; a roller or brush for film-forming types.
- Conditions: Apply in dry weather, ideally between 50°F and 80°F.
- Coverage: Expect 150–250 sq. ft. per gallon depending on surface porosity.
- Curing: Allow adequate curing time (4–24 hours) before exposure to traffic or moisture.
Pro Tip: Always apply a thin, even coat. More isn’t better—thicker layers can lead to peeling.
5. Longevity & Reapplication
- Siloxane Penetrating Sealers: 7–10 years
- Silicate Densifiers: Permanent but may need a topcoat
- Acrylics: 1–3 years, depending on traffic and UV exposure
- Epoxies & Polyurethanes: 3–5 years with proper prep
Check the manufacturer’s data sheet for exact service life and reapplication recommendations.
6. Top Concrete Sealer Comparisons (2026)
| Product | Type | Best Use | Longevity | Features |
|---|---|---|---|---|
| Siloxa-Tek 8500 | Penetrating | Driveways, sidewalks | 7–10 yrs | Salt + water repellent, breathable |
| Lithi-Tek 9500 | Densifier + Sealer | Basements, slabs | Permanent | Strengthens + waterproofs |
| Cryli-Tek 5505 | Acrylic (solvent) | Decorative, stamped | 2–3 yrs | Gloss finish, UV stable |
| Ghostshield 8510 | High-Actives Penetrating | Garage, oil-prone areas | 10 yrs | Oil + salt repellent |
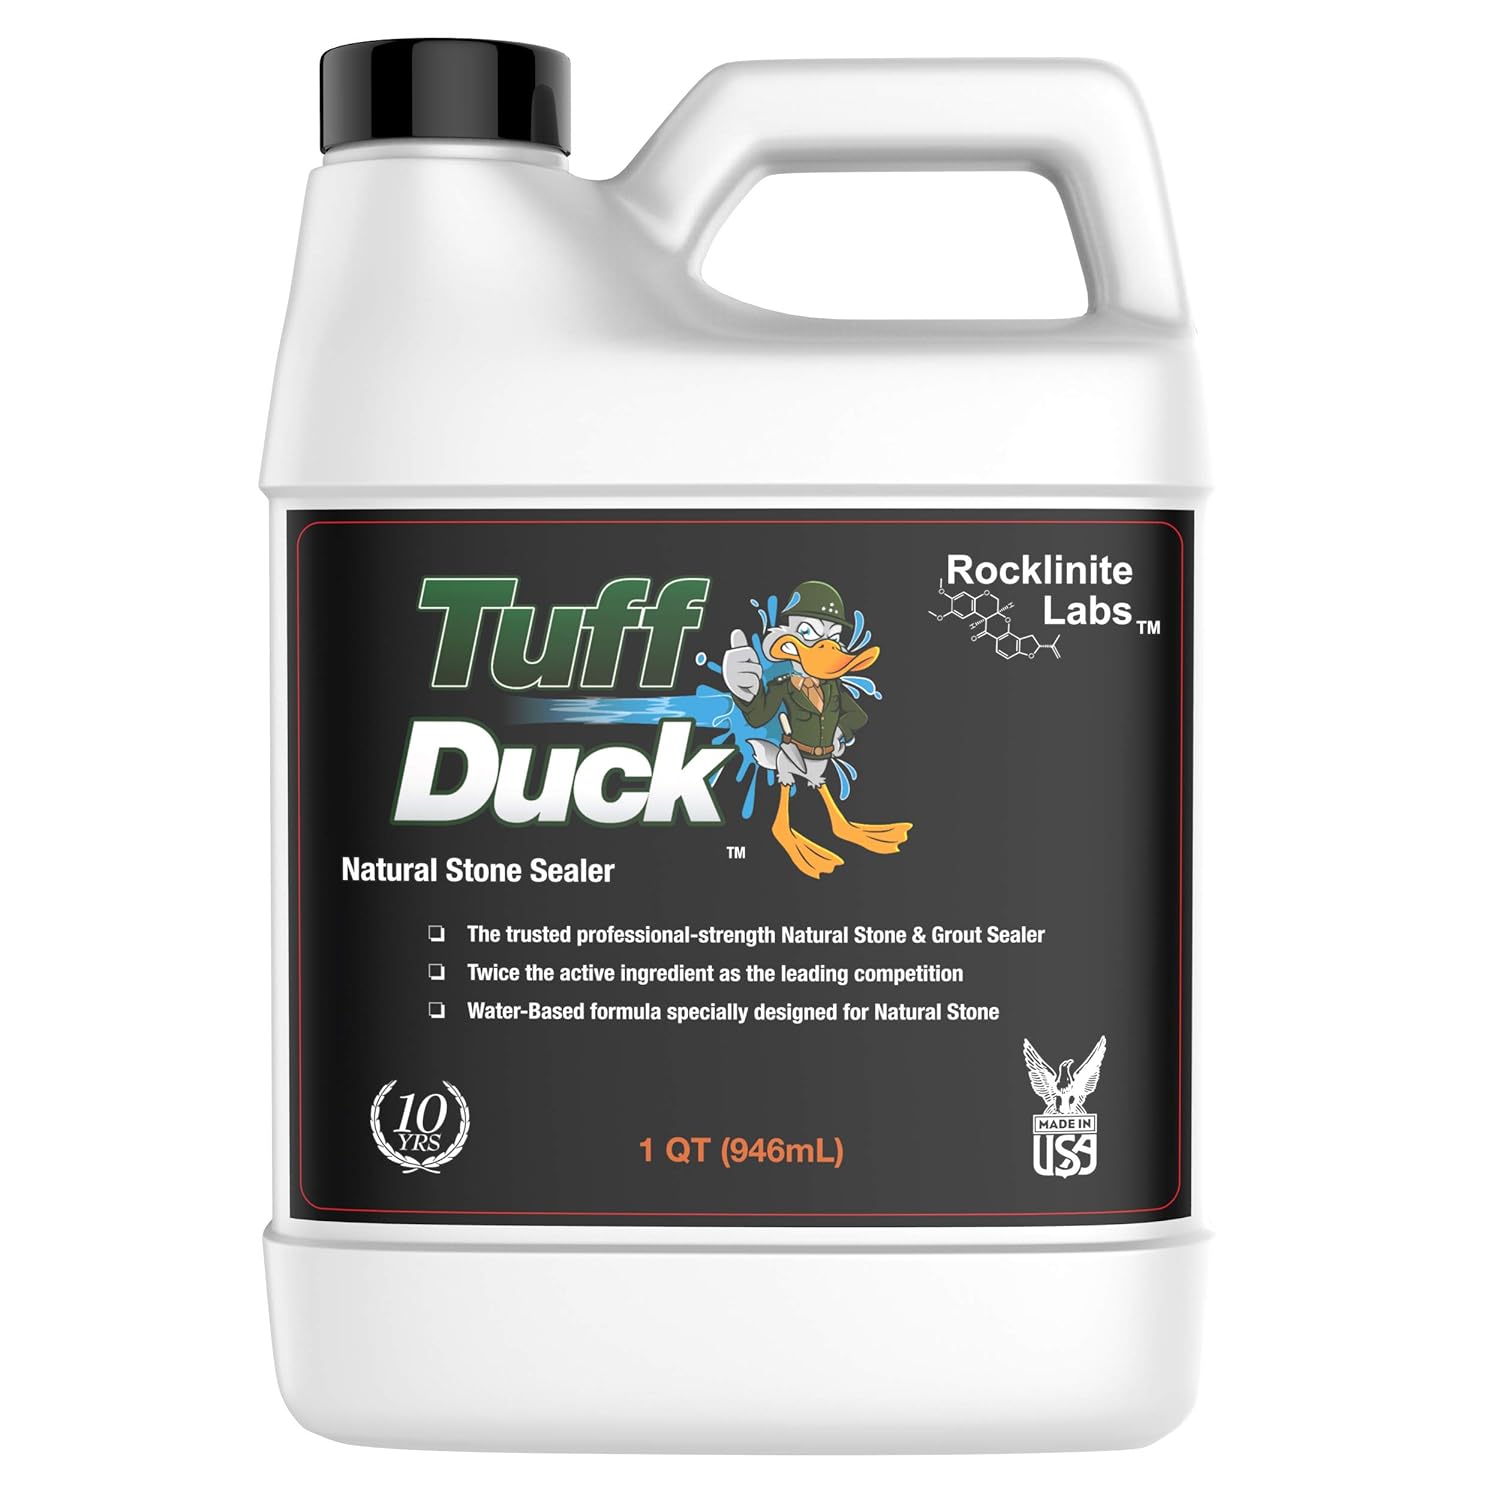
| Tuff Duck Concrete Sealer | Penetrating (Silane/Siloxane) | Outdoor patios, stone | 5–7 yrs | Non-yellowing, water-based |
| Eco Advance Concrete Sealer | Water-based Silane/Siloxane | Walkways, pool decks | 5 yrs | Eco-friendly, breathable |
7. Choosing the Right Sealer for Your Project
| Application | Recommended Type |
| Driveways | Silane/Siloxane Penetrating |
| Basements | Silicate + Waterproofing |
| Garages | Epoxy or High-Active Penetrating |
| Decorative Concrete | Acrylic or Polyurethane |
| Industrial Floors | Epoxy + Polyurethane Topcoat |
Final Thoughts
The right concrete sealer depends on your surface, environment, and performance needs. With the proper preparation, application, and product choice, you can extend the life of your concrete, enhance its appearance, and protect your investment.
Always follow manufacturer instructions and don’t skip the prep—it’s the difference between success and failure.




Related Guides
Affiliate disclosure: Some links on this page are affiliate links. As an Amazon Associate we earn from qualifying purchases, at no extra cost to you.
Home Depot rating: ★ 4.5/5 (16 Home Depot reviews)
Watch: Ghostshield Epoxy Max 100 in 60 seconds
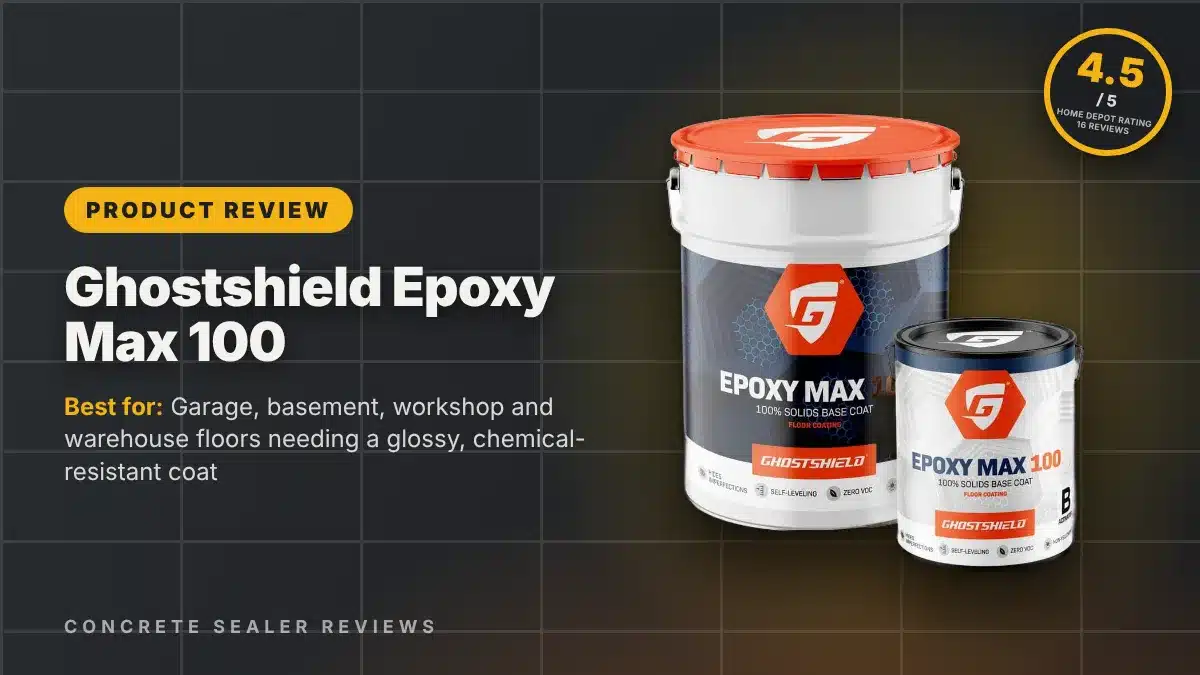
Ghostshield Epoxy Max 100 : A High-Performance Floor Coating
Ghostshield Epoxy Max 100 is a high-performance, two-part epoxy coating designed to protect concrete surfaces in both commercial and residential settings. It’s ideal for areas that experience heavy traffic, spills, or wear, such as garages, basements, or warehouse floors. This review will break down the key features, application process, and benefits of Ghostshield Epoxy Max 100.
What is Ghostshield Epoxy Max 100?
Ghostshield Epoxy Max 100 is a durable, high-solid, two-part epoxy system that comes in two components: the epoxy resin (Part A) and the hardener (Part B). When mixed together, these parts chemically react to form a tough, protective coating. This coating bonds well to concrete surfaces, providing excellent protection against stains, wear, and chemicals, while also enhancing the appearance of your floors.
Why Choose Epoxy Max 100?
If you're looking for a floor coating that can handle heavy traffic, or if you are looking for a durable option for your garage floor Ghostshield Epoxy Max 100 is a great choice. Once applied, it creates a strong, long-lasting surface that can withstand heavy foot traffic, vehicle movement, and even chemical spills. Whether you're working on your garage floor, a basement, or a workshop, this epoxy will give your concrete a fresh, durable finish.
How Does It Work?
The magic behind Epoxy Max 100 lies in its chemical structure. The epoxy resin (Part A) and hardener (Part B) mix to form a hard, plastic-like surface that sticks tightly to the concrete. This helps the coating resist cracking, peeling, or chipping over time. The coating also has a low permeability, which means water and other liquids are less likely to soak into the concrete, preventing damage or staining.
The epoxy also offers impressive chemical resistance. If your concrete surface is exposed to things like oils, grease, or cleaning chemicals, Epoxy Max 100 can handle it. This makes it an excellent option for garages, workshops, and even areas that might see the occasional spill.
Application: Step-by-Step
- Prep the Surface: The key to a successful epoxy application is good surface preparation. You'll need to rough up the surface using a grinder or shot blaster to ensure the epoxy adheres properly.
- Mixing the Epoxy: Once your surface is clean and dry, it's time to mix the two components. Epoxy Max 100 comes in a 3 gallon, 2 component kit. 2 parts resin to 1 part hardener. Be sure to mix thoroughly, as improper mixing can affect the performance of the coating.
- Apply the Epoxy: You can apply the mixed epoxy using a roller, brush, or squeegee. Start in one corner and work your way out to avoid stepping on the freshly applied coating. The epoxy has a smooth consistency that spreads easily, making the application process relatively straightforward. You can apply multiple coats for added thickness, but be sure to follow the recommended curing times between coats.
- Curing Time: After applying the first coat, you'll need to let it dry. Typically, the epoxy will feel dry to the touch within a few hours, but it can take up to 72 hours to fully cure and harden. Be patient and avoid heavy traffic on the surface until it's completely cured.
Benefits of Ghostshield Epoxy Max 100
- Durability: Once cured, the epoxy creates a tough surface that resists damage from foot traffic, vehicles, and even chemical spills.
- Chemical Resistance: It’s highly resistant to oils, gasoline, cleaning agents, and other chemicals commonly found in garages and workshops.
- Easy Maintenance: Epoxy floors are easy to clean and maintain, helping keep your concrete surfaces looking new for years.
- Aesthetic Appeal: Epoxy Max 100 gives concrete floors a smooth, glossy finish that can brighten up a space. It’s available in a variety of colors, allowing you to customize the look of your floor. Can also be used with flakes and metallics for an aesthetically pleasing look.
- DIY-Friendly: The application process is straightforward, especially if you follow the instructions carefully. Most DIYers can tackle this project on their own. The hardest part of the whole application will be your surface preparation. It is essential the floor is properly grind-ed to ensure the best possible adhesion.
Performance and Longevity
Ghostshield Epoxy Max 100 is designed to perform well in even the toughest conditions. Whether your concrete surface is exposed to constant foot traffic, heavy machinery, or accidental spills, this epoxy coating holds up over time. Its ability to resist abrasion and staining makes it particularly beneficial for high-traffic areas like garages and workshops.
Once applied, the coating remains resistant to most chemicals, making it an excellent choice for spaces where spills are common. The tough, durable finish helps protect the concrete beneath, preventing cracks, stains, and water damage.
Environmental Impact and Safety
Ghostshield Epoxy Max 100 is a low-VOC (Volatile Organic Compounds) product, meaning it emits fewer harmful fumes compared to traditional solvent-based coatings. However, it’s still important to ensure good ventilation while applying the epoxy, as there will still be fumes during the curing process. Always follow the safety guidelines provided in the instructions, including wearing gloves and protective eyewear during application.
Conclusion
Overall, Ghostshield Epoxy Max 100 is a fantastic product for anyone looking to improve the durability and appearance of their concrete floors. Whether you’re a DIYer tackling a garage floor or a professional applying it in an industrial setting, this epoxy offers a reliable, long-lasting solution. Its easy application process, strong chemical resistance, and tough finish make it an excellent choice for high-traffic, high-use areas. With a little patience and preparation, you'll have a floor that looks great and stands up to wear for years to come.

Related Guides
Affiliate disclosure: Some links on this page are affiliate links. As an Amazon Associate we earn from qualifying purchases, at no extra cost to you.
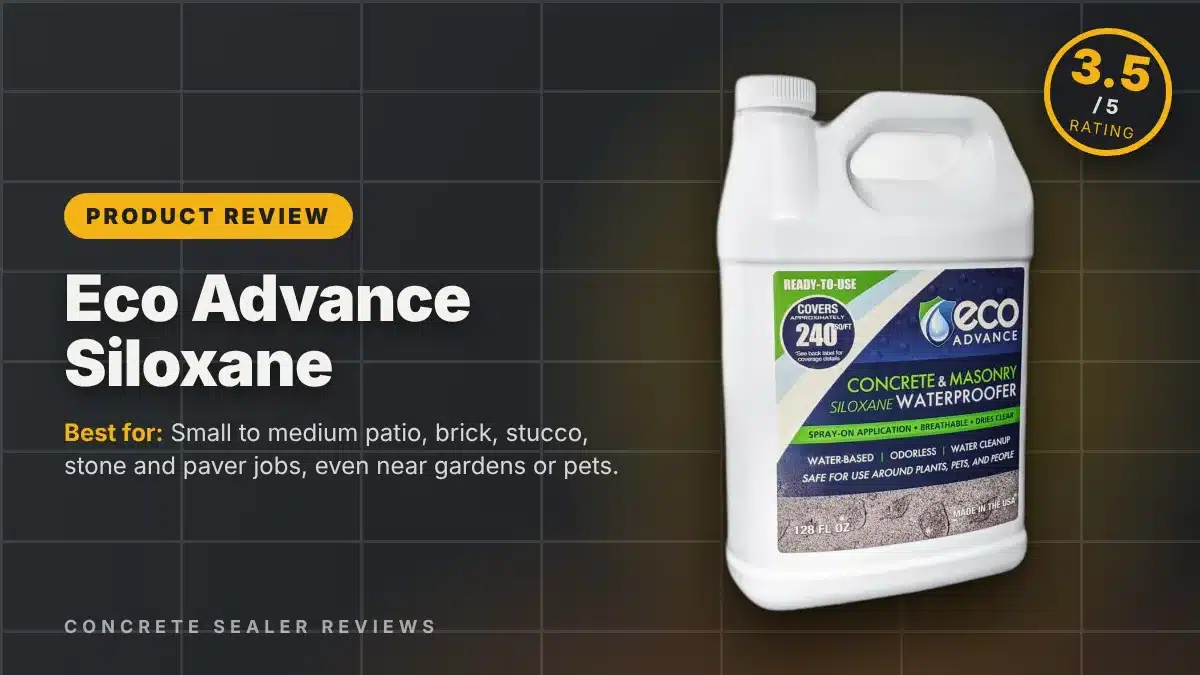
Eco Advance Concrete/Masonry Siloxane Waterproofer is a water-based, low-odor siloxane water repellent that you spray on with a garden sprayer. It is sold ready-to-use by the gallon or as a small concentrate you mix with water, and it is marketed as safe around people, pets and plants. Bottom line: a convenient, breathable, invisible water repellent for patios, walls and pavers, held back by thin published technical data and the need to apply it carefully.
| Type | Penetrating water repellent (no film) |
| Chemistry | Water-based siloxane; non-flammable, low VOC, low odor |
| Finish | Dries clear with no sheen; owners report slight darkening on some surfaces |
| Coverage | No official rate published in the listings we found; buy extra for porous or textured surfaces |
| Coats | Two coats is the common recommendation; very porous surfaces may need more |
| Dry/recoat | Walkable in under 2 hours, per the seller |
| Cure | Not published |
| Best for | Concrete, brick, stucco, natural and manufactured stone, pavers, split-face block, EIFS |
| Not for | Stopping active leaks or hydrostatic pressure; anyone who needs a full spec sheet before buying |
| New concrete | Marketed as usable on new concrete and masonry |
Watch: Eco Advance Siloxane in 60 seconds
What It Is / How It Works
Eco Advance is its own brand, sold by Eco Advancements Inc., and it is still available in 2026 through hardware and online retailers. You will see several versions of the same concrete/masonry product: a 1-gallon ready-to-use jug (model EACON128PD), a 16 oz concentrate that makes 1 gallon (EACON16CON) and a 64 oz concentrate that makes 5 gallons (EACON64CON). Some stores, such as Do it Best, list it as "Eco Advance Clear Concrete and Masonry Water Repellent Sealer." The brand also makes a separate exterior wood waterproofer, so check the label before you buy.
Our older review lumped it into the "Rainguard family." We could not find any source that confirms Eco Advance is made by Rainguard, so treat them as separate brands. Both use a spray-on, water-based siloxane approach, which is likely where the confusion came from.
A siloxane repellent soaks into the pores of concrete and masonry and leaves them water-repellent from the inside. Rain beads up and runs off instead of soaking in, while water vapor can still pass out of the material. That vapor permeability is the main reason to choose this type over a film-forming acrylic: it does not trap moisture, it does not peel, and the surface looks basically untreated. Eco Advance says the treatment protects against water damage, de-icing salts, oil and stains, mold and mildew, and pool and spa chemicals, and that it does not harm landscape plantings.
Where It Works Best (and where it doesn't)
It suits homeowners who want an easy, low-odor treatment for an exterior concrete patio, a brick porch, stucco or stone veneer, paver walkways or split-face block walls, especially next to gardens or where pets are around. Because it's water-based, you can spray it near plantings with less worry than with solvent-based repellents. The seller also says it can be used in cool weather, down to 34°F, which extends the season compared with many sealers.
It is not the product for a leaking basement wall, a foundation with groundwater pressure or a garage floor where you want gloss and stain protection from a coating. Penetrating repellents slow water absorption; they don't seal cracks or hold back pressurized water. The bigger practical drawback is documentation. We could not find a published technical data sheet with coverage rates, cure time or rain windows, which makes it harder to plan a large job than with brands that publish full specs.
Pros
- Water-based, low odor, non-flammable and low VOC
- Breathable (vapor permeable), so it won't trap moisture or peel
- Dries clear with no sheen
- Quick garden-sprayer application; walkable in under 2 hours
- Concentrate option reduces shipping weight and cost per gallon
- Marketed as safe around people, pets and plants, and usable down to 34°F
Cons
- No published technical data sheet: no official coverage, cure or rain window
- Can pool on stamped or textured concrete if over-applied
- Harder to spray evenly in wind or strong sun, per owner reports
- Some owners needed extra coats before water beaded everywhere
- Won't stop active leaks or hydrostatic pressure
How to Apply It
- Clean the surface. Pressure wash or scrub off dirt, mildew and efflorescence, then let the surface dry thoroughly. Penetrating repellents need open, dry pores to soak in.
- Mix if using concentrate. Follow the label: the 16 oz bottle makes 1 gallon and the 64 oz bottle makes 5 gallons. Don't dilute the ready-to-use jug.
- Pick your weather. Choose a calm day without strong sun beating on the surface, and avoid rain until the treatment has had time to set. The label is the final word on temperatures and timing.
- Spray evenly. Use a pump or garden sprayer with a fan tip, working steadily so the surface is evenly wet. On stamped or textured concrete, dab or back-roll any puddles so they don't dry in place.
- Apply a second coat. Two coats is the common recommendation. Owners note the second coat goes on more easily before the first fully dries; follow the label's timing.
- Check it. After it dries, splash water on a few spots. If any area darkens and soaks it up, give that area another coat. Repeat the splash test every year or so to know when to reapply.
How It Compares
Rainguard Advanced Waterproofer is a similar water-based silane/siloxane spray-on product that publishes a full data sheet: theoretical coverage of about 125–150 sq ft/gal on concrete, a 5–7 day full chemical cure and a 10-year limited warranty. If you want firm numbers to plan with, that transparency is an advantage.
Solvent-based or higher-solids silane/siloxane sealers are a common pick for driveways that see de-icing salt and come in products with fully published specs, though solvent-based versions bring more odor. Our best silane/siloxane concrete sealers covers them.
Acrylic film-forming sealers add color enhancement or a wet look and resist surface stains better, but they sit on top, wear and can peel. Choose those only if you want a visible finish; see best concrete sealers for 2026.
FAQ
Is Eco Advance actually waterproof?
It is a water repellent: it makes concrete and masonry shed rain and absorb much less water. It does not create a membrane, so it won't stop water under pressure or seal cracks.
How long does Eco Advance last?
The brand calls it long-lasting but doesn't publish a service life. Owners commonly report water still beading months to a year or two later. Exposure, traffic and surface porosity all affect how long it lasts, so a yearly splash test is the best guide.
Is Eco Advance made by Rainguard?
We found no source that confirms that. Retail listings name Eco Advance as the brand and Eco Advancements Inc. as the seller. Rainguard is a separate brand with its own siloxane waterproofers.
Can I use it on new concrete?
The seller says it can be used on new concrete and masonry and that it lets them keep curing. Make sure the surface is dry to the touch before spraying.
Verdict
Eco Advance is an easy, friendly-to-use siloxane repellent for homeowners who want an invisible, breathable treatment on patios, brick, stucco and pavers without solvent fumes. Owner feedback on beading and ease of spraying is generally positive. The lack of a published spec sheet, the risk of pooling on textured surfaces and the occasional need for extra coats keep it from scoring higher. It's a fair pick for small to medium DIY jobs; for large or salt-exposed driveways, a better-documented silane/siloxane is the safer choice.
Our rating: 3.5/5
How we reviewed this product: this is a research-based review built from the manufacturer's technical data sheet and current retail listings. We have not run our own hands-on tests of this product. Details were checked in October 2026; always follow the current label.
Where to Buy
Related Guides
Affiliate disclosure: Some links on this page are affiliate links. As an Amazon Associate we earn from qualifying purchases, at no extra cost to you.
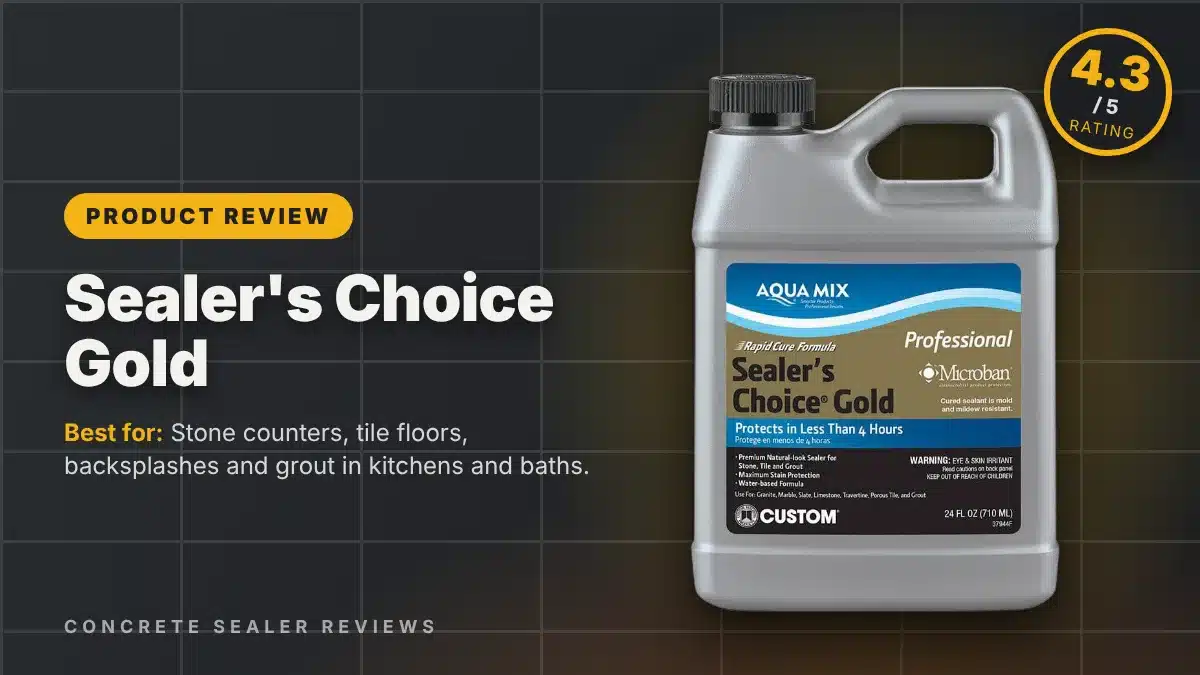
Aqua Mix Sealer’s Choice Gold is a premium water-based penetrating sealer for natural stone, tile and grout, sold in pint, 24 oz, quart and larger sizes. It leaves no sheen, keeps a natural look, and is one of the most recommended sealers for kitchen and bath stone and grout. Bottom line: excellent at its intended job, but the quart is a small-area product, and for big concrete slabs you will get far more value from a concrete-specific sealer.
| Type | Penetrating (impregnating) sealer, no film |
| Chemistry | Water-based, siloxane-based penetrating formula; current version is PFAS-free |
| Finish | No sheen; maintains the natural look of most stone |
| Coverage | Quart: about 50–200 sq ft (two coats); gallon: about 200–800 sq ft (current PFAS-free data sheet) |
| Coats | Two coats assumed; second coat at least 30 minutes after the first |
| Dry/recoat | Light foot traffic 30 minutes after the final buff; keep dry for 24 hours |
| Cure | Maximum stain protection after 24 hours |
| Best for | Natural stone, tile and porous grout, indoors and out; kitchen counters and food-prep areas |
| Not for | Preventing acid etching on marble/limestone; surfaces with existing waxes, sealers or finishes |
| New concrete | No concrete cure wait stated; allow new grout and adhesives at least 48 hours |
Watch: Sealer's Choice Gold in 60 seconds
What It Is / How It Works
Aqua Mix is a Custom Building Products brand, and Sealer's Choice Gold has long been its flagship "maximum protection" penetrating sealer. Instead of forming a coating on top, it soaks into the pores of stone, tile and grout and lines them with water- and oil-repellent material. The surface keeps its natural texture and look, and moisture vapor can still escape, which matters for stone and grout that see wet cleaning or steam from cooking.
One important update: in 2026 Custom Building Products began selling Sealer's Choice Gold PFAS-Free, which the company bills as "the next evolution of Gold." The new technical data sheet (TDS-528, August 2026) lists the quart as item 030882-4-PF. Some retailers still list the original formula and its older data, so check which version you are buying. The new formula claims up to 10 years of protection under natural exposure and routine wear, and stain resistance for up to one hour of exposure. It can also be used as a pre-grouting sealer and is recommended for food preparation and serving areas.
Because it is penetrating, it does not make stone harder, add shine or stop surface wear. Custom's data sheet is clear that it does not prevent etching from acids or caustic chemicals. On marble or limestone, lemon juice and vinegar can still dull the surface; the sealer buys you time to wipe up stains, not immunity.
Where It Works Best (and where it doesn't)
Sealer's Choice Gold is at home on granite and other natural stone counters, stone and tile floors, shower and backsplash grout, and exterior stone and pavers where you want stain resistance without any change in look. The quart size suits a kitchen counter, a bathroom floor or a tile backsplash.
It makes less sense on large concrete areas. The original formula's data sheet listed concrete, brick and masonry among its surfaces, and Home Depot's listing still names concrete, but the current PFAS-free sheet focuses on natural stone, tile and porous grout. At quart coverage of roughly 50–200 sq ft, sealing a driveway or patio with it would be expensive. Concrete-specific penetrating sealers cover far more area per dollar; see our best penetrating concrete sealers. It is also not a fix for acid etching, and it won't bond into surfaces that already carry a wax, sealer or finish.
Pros
- No-sheen, natural look on most stone, tile and grout
- Rated for stain resistance up to one hour of spill exposure
- Water-based and breathable; usable indoors and out
- Fast: second coat after 30 minutes, light foot traffic 30 minutes after the final buff
- New PFAS-free formula claims up to 10 years of protection
- Recommended for food-prep areas; doubles as a pre-grout sealer
Cons
- Premium price; the quart covers only about 50–200 sq ft
- Poor value for large concrete driveways or patios
- Leaves a white film if it is allowed to dry on the surface
- Doesn't prevent acid etching or surface wear
- Two formulas on shelves in 2026, with different data sheets
How to Apply It
- Test first. Stone varies in density and porosity, so try a small, hidden spot to check appearance and absorption.
- Prep. The surface must be clean, dry and free of waxes, sealers and finishes. Give new grout and tile adhesive at least 48 hours to dry.
- Check temperature. Apply at 50–90°F (current formula).
- Apply a liberal coat. Use a paint pad, sponge, brush or sprayer. On dense, honed or polished stone, work it in with a white nylon pad.
- Wipe it off. Let it penetrate up to 5 minutes or until it starts to dry, then wipe with a damp microfiber towel and buff dry. Don't let it dry on the surface.
- Second coat. Wait at least 30 minutes and repeat. Very porous surfaces may need more.
- Cure. Light foot traffic is fine 30 minutes after the final buff; keep it dry for 24 hours, when it reaches maximum stain protection. Clean with water or a pH-neutral cleaner, and avoid high-alkaline cleaners and steam cleaning.
How It Compares
Aqua Mix Penetrating Sealer is the brand's lower-cost option. It's a reasonable choice for grout and less stain-prone areas where you don't need Gold's top-tier stain resistance.
Other premium stone impregnators, such as Miracle Sealants 511 or StoneTech products, compete in the same space. All of them leave a natural look and none of them stop acid etching, so pick based on availability, coverage and price for your stone.
Concrete silane/siloxane sealers are the better buy for driveways, patios and garage floors. They are built for concrete's porosity and come in sizes priced for hundreds of square feet. Our best concrete sealers for 2026 roundup is a good place to start.
FAQ
How long does Sealer's Choice Gold last?
The PFAS-free formula claims up to 10 years under natural exposure and routine wear. Real life depends on traffic, cleaning products and how porous the surface is. A simple check is to drip water on the surface; if it darkens and soaks in quickly, it's time to reseal.
Is Sealer's Choice Gold food safe?
Custom Building Products recommends it for food preparation and serving areas such as countertops. Follow the label's ventilation and glove guidance during application, and let it cure before use.
Will it change the color of my stone?
It is designed to keep the natural look of most stone with no sheen. Custom notes that some light-colored and polished stones may show residue if the steps aren't followed, so test a hidden area first and buff off all excess.
Can I use Sealer's Choice Gold on concrete?
The original formula listed concrete among its surfaces, and it will penetrate porous concrete. But for anything larger than a small area, it is far more cost-effective to use a sealer made for concrete.
Verdict
For stone counters, tile and grout, Sealer's Choice Gold remains one of the safest picks: natural look, strong stain resistance, quick recoat and a long claimed service life in the new PFAS-free version. It's pricey per square foot, needs careful wipe-off to avoid haze, and isn't the right tool for big concrete jobs. Buy the quart for a kitchen or bath and you'll likely be happy. You can find the current formula on Custom Building Products' product page.
Our rating: 4.3/5
How we reviewed this product: this is a research-based review built from the manufacturer's technical data sheet and current retail listings. We have not run our own hands-on tests of this product. Details were checked in October 2026; always follow the current label.
Where to Buy

Related Guides
Affiliate disclosure: Some links on this page are affiliate links. As an Amazon Associate we earn from qualifying purchases, at no extra cost to you.
The Wet Look Natural Stone Sealer by Black Diamond Stoneworks is a durable and long-lasting solution designed to provide gloss protection for a variety of interior and exterior surfaces. Whether you’re dealing with pavers, slate, sandstone, travertine, flagstone, driveways, or garage floors, this sealer promises to enhance and protect your surfaces effectively.
Features:
- Enhanced Appearance: This sealer is formulated to provide a wet look finish, enhancing the natural beauty of your stone surfaces. It adds depth and richness to the colors, giving them a vibrant and fresh appearance.
- Durable Protection: With its advanced formula, the Black Diamond Stoneworks sealer offers long-lasting protection against various elements such as water, UV rays, oil, and other common stains. This helps in maintaining the integrity of your surfaces, ensuring they remain pristine for an extended period.
- Versatile Application: Suitable for both interior and exterior use, this sealer is compatible with a wide range of surfaces, including but not limited to pavers, slate, sandstone, travertine, flagstone, driveways, and garage floors. Its versatility makes it a convenient choice for various projects around the home or commercial properties.
- Easy Application: The application process is designed to be user-friendly, allowing for hassle-free use by homeowners and professionals alike. Whether you’re applying it with a brush, roller, or sprayer, the sealer goes on smoothly, ensuring even coverage and optimal results.
- Environmentally Friendly: Black Diamond Stoneworks takes environmental concerns seriously, and this sealer reflects that commitment. It is formulated with eco-friendly ingredients, making it safe for use around pets, plants, and people, while also minimizing its impact on the environment.
Overall Impressions:
The Wet Look Natural Stone Sealer by Black Diamond Stoneworks is a reliable choice for those seeking to protect and enhance their stone surfaces. Its durable formula, coupled with its ability to provide a long-lasting gloss finish, makes it a valuable addition to any home maintenance arsenal. Whether you’re sprucing up your patio, driveway, or indoor floors, this sealer delivers on its promises, leaving your surfaces looking refreshed and well-protected.
For those in search of a versatile, easy-to-use, and environmentally friendly stone sealer, Black Diamond Stoneworks offers a solution that meets and exceeds expectations. With its proven track record of quality and performance, this sealer is sure to satisfy the needs of discerning homeowners and professionals alike.

Related Guides

Affiliate disclosure: Some links on this page are affiliate links. As an Amazon Associate we earn from qualifying purchases, at no extra cost to you.
What is an epoxy floor?
An epoxy floor is a type of flooring system that is created by applying multiple layers of epoxy resin onto a prepared surface, such as a concrete floor. The epoxy resin is a two-part material that is mixed together and then applied in liquid form, allowing it to flow and self-level. Once applied, the epoxy cures and hardens into a durable, seamless, and high-gloss surface that is resistant to chemicals, abrasion, and moisture.
Epoxy floors are commonly used in commercial and industrial settings, but are also becoming increasingly popular in residential applications due to their durability, ease of maintenance, and aesthetic appeal. Epoxy floors can be customized with a wide range of colors, patterns, and textures, and can even be used to create 3D designs and logos.
When selecting the best epoxy floor coatings, consider the benefits of durability and versatility that these coatings provide. The best epoxy floor coatings can transform your space while offering protection and style.
The best epoxy floor coatings will depend on your specific needs, preferences, and the requirements of your project. Here are some factors to consider when choosing the best epoxy floor coatings to ensure you get the most effective and long-lasting results with the best epoxy floor coatings:
- Type of epoxy: Epoxy coatings come in two-part systems, which consist of a resin and a hardener. There are several types of epoxy resins, including solvent-based, water-based, and 100% solid epoxy. Each type has its own benefits and drawbacks, so it’s important to choose the type that is best suited for your project.
- Thickness and durability: Epoxy coatings can range in thickness from a few mils to over 30 mils. Thicker coatings will typically be more durable and long-lasting, but they may also be more expensive. Consider the traffic, wear and tear, and exposure to chemicals or other elements that your floor will experience when selecting a thickness.
- Appearance: Epoxy coatings come in a variety of colors and finishes, including gloss, satin, and matte. Some coatings also include decorative flakes or metallic pigments for a more unique look.
- Chemical resistance: If your floor will be exposed to chemicals or other harsh substances, it’s important to choose an epoxy coating that is resistant to those substances.
- Installation: Some epoxy coatings may require specialized equipment or professional installation, while others may be suitable for DIY projects.
- Cost: Epoxy floor coatings vary in price depending on the type, thickness, and quality. It’s important to balance cost with the other factors when choosing an epoxy coating.
Best 100% Solids epoxy floor coating
A 100% solids epoxy floor coating is a type of epoxy coating that has no volatile organic compounds (VOCs) and is considered to be one of the most durable and long-lasting types of epoxy coatings. Here are some of the best 100% solids epoxy floor coatings available on the market:
- Epoxy Max 100: This is a 100% solids epoxy coating that is suitable for both residential and commercial use. Easy to apply and provides a durable, high-gloss finish. It is self-leveling and has a high resistance to impact, chemicals, and abrasion.
- MPC-100: A two component 100% solids, self-leveling and high build epoxy floor system.
- Simiron 1100SL: A 100% solids, two-component, high-build epoxy floor coating that’s designed for applications where heavy-duty protection is required.
Why should you epoxy a floor
- Durability: Epoxy flooring is highly durable and can withstand heavy traffic, impact from dropped tools or equipment, and other wear and tear. It forms a tough, resilient surface that helps protect your garage floor from damage.
- Chemical Resistance: Garage floors are often exposed to various chemicals, such as automotive fluids and oil spills. Epoxy is highly resistant to these substances, making it easier to clean and preventing damage to the underlying concrete.
- Easy Maintenance: Epoxy floors are easy to clean and maintain. The smooth, non-porous surface resists stains, and regular cleaning typically involves sweeping and mopping. This is especially beneficial in a garage environment where dirt, dust, and debris can accumulate.
- Enhanced Aesthetic Appeal: Epoxy coatings come in a variety of colors and finishes, allowing you to customize the appearance of your garage floor. You can choose a solid color, add decorative flakes, or even create a metallic or glossy finish, enhancing the overall aesthetic of your garage.
- Light Reflectivity: Epoxy floors have a high-gloss finish that reflects light, improving visibility in your garage. This can be particularly beneficial if you use your garage as a workshop or if you want a well-lit space.
- Moisture Resistance: Epoxy is resistant to moisture, preventing water from seeping into the concrete and causing damage. This is important in a garage where exposure to moisture, such as from wet vehicles or melting snow, is common.
- Protection Against Cracks: Epoxy coatings can help seal small cracks and imperfections in the concrete, providing an added layer of protection against further damage. This can be beneficial in preventing the spread of cracks and preserving the structural integrity of the garage floor.
- Increased Property Value: A well-maintained and aesthetically pleasing garage can contribute to the overall value of your property. Epoxy flooring is considered an upgrade that can attract potential buyers if you ever decide to sell your home.
- Quick Installation: While proper surface preparation is essential, the actual application of epoxy coatings is relatively quick compared to some other flooring options. This means minimal disruption to your daily activities.
How much does it cost to install an epoxy floor?
The cost of installing an epoxy floor can vary depending on several factors such as the size of the area to be covered, the condition of the existing floor, the type of epoxy used, and the complexity of the installation process.
On average, the cost can range from $3 to $12 per square foot. For example, a 500 square foot garage could cost between $1,500 to $6,000.
Keep in mind that the cost can also increase if any repairs or preparation work needs to be done on the existing floor before installation. Additionally, if you want any custom designs or additional coatings, that may also increase the cost.
What tools do you need to apply an epoxy floor?
Here are some of the common tools and materials that are typically needed for applying an epoxy floor:
- Safety equipment: This includes gloves, safety glasses, and a respirator mask to protect against fumes and chemicals.
- Surface preparation tools: Depending on the condition of the existing floor, tools such as a concrete grinder, shot blaster, or floor scraper may be needed to prepare the surface for the epoxy.
- Cleaning supplies: The floor will need to be thoroughly cleaned and degreased before applying the epoxy. This may involve using a heavy-duty cleaner, a power washer, or a degreaser.
- Mixing tools: A power drill with a mixing paddle or a mixing bucket may be needed to mix the epoxy components.
- Application tools: A squeegee, roller, or trowel may be used to apply the mixed epoxy to the floor.
- Spike shoes: These special shoes with small spikes on the soles are worn to prevent footprints on the freshly applied epoxy.
- Topcoat: A topcoat material such as a urethane or polyaspartic coating may be needed for added durability and protection.
How to prepare a floor for an epoxy floor coating
Choosing the best epoxy floor coatings can greatly enhance the aesthetics and functionality of your floors. Whether in a garage or a commercial space, the best epoxy floor coatings are a smart investment.
Preparing a floor for an epoxy coating is a crucial step in ensuring a successful and long-lasting installation. Here are the general steps for preparing a floor for an epoxy coating:
- Clean the floor: The floor must be completely clean and free of debris, dirt, and dust. Start by sweeping or vacuuming the floor, and then wash it with a degreaser or a solution of water and ammonia. Rinse the floor with clean water and allow it to dry completely.
- Repair any damage: Inspect the floor for cracks, holes, or other damage that needs to be repaired. Fill any cracks or holes with a concrete patching compound and smooth it out with a trowel. Allow the patching compound to dry completely before moving on to the next step.
- Profile the surface: The surface of the floor needs to be roughed up or profiled to ensure proper adhesion of the epoxy. This can be done using a diamond grinder or shot blaster. The degree of surface roughness or profile required will depend on the specific epoxy being used, so it’s important to consult with the manufacturer or a professional flooring contractor.
- Remove any remaining dust or debris: After profiling the surface, it’s important to remove any remaining dust or debris using a vacuum or broom.
- Apply a primer: A primer should be applied to the prepared surface to enhance adhesion and prevent air bubbles from forming. The primer should be allowed to dry completely before applying the epoxy.
How to apply an epoxy floor:
Applying an epoxy floor requires careful preparation and attention to detail. Here are the general steps involved in applying an epoxy floor:
- Prepare the surface: The surface to be coated must be thoroughly cleaned and prepped. This involves removing any existing coatings, dirt, grease, and other contaminants using a combination of grinding, shot blasting, or acid etching.
- Repair cracks and imperfections: Any cracks or imperfections in the surface should be repaired using a suitable filler, and the surface should be sanded or ground smooth.
- Apply primer: A primer is applied to the prepared surface to ensure good adhesion of the epoxy. The primer is allowed to dry completely before proceeding.
- Mix the epoxy: The two components of the epoxy are mixed together according to the manufacturer’s instructions.
- Apply the epoxy: The mixed epoxy is poured onto the surface and spread evenly using a notched squeegee or roller. A second coat may be applied after the first coat has dried, typically within 24 hours.
- Allow to cure: The epoxy must be allowed to cure for the recommended time, usually between 24 and 72 hours, before the surface can be used.
For optimal results, always select the best epoxy floor coatings tailored to your environment to ensure longevity and durability. The best epoxy floor coatings are designed for various applications.
How do you maintain an epoxy floor?
Maintaining an epoxy floor is relatively easy and requires minimal effort. Here are some tips for maintaining an epoxy floor:
Additionally, using the best epoxy floor coatings can prevent costly repairs down the line, making them a budget-friendly option for many homeowners and businesses alike.
- Sweep and mop regularly: Sweep the floor regularly to remove loose dirt and debris. Mop the floor with a mild detergent and warm water to remove any stains or spills. Avoid using harsh chemicals or abrasive cleaners that can damage the epoxy coating.
- Use a soft-bristled brush: Use a soft-bristled brush to scrub the floor gently and remove any stubborn stains or dirt. Avoid using steel wool or other abrasive materials that can scratch the epoxy coating.
- Clean up spills immediately: Clean up any spills immediately to prevent staining or discoloration of the epoxy coating. Use a soft cloth or paper towel to blot up the spill, then clean the area with warm water and a mild detergent.
- Avoid heavy furniture or equipment: Avoid dragging heavy furniture or equipment across the floor, as this can scratch or damage the epoxy coating.
- Reapply the topcoat: Over time, the topcoat of the epoxy floor may wear down or become dull. Reapply the topcoat every few years to restore the shine and protect the epoxy coating.
How Long do Epoxy Floors Last?
The best epoxy floor coatings not only improve the look of your space but also provide necessary protection against wear and tear. Investing in the best epoxy floor coatings will pay off in the long run.
Epoxy floors can last a long time if they are installed and maintained properly. The lifespan of an epoxy floor will depend on several factors, including the quality of the materials used, the level of traffic on the floor, and the level of care and maintenance it receives.
Furthermore, the best epoxy floor coatings offer a variety of color choices and finishes, making it easy to find the perfect match for your style and needs.
With proper installation and maintenance, a high-quality epoxy floor can last anywhere from 10 to 20 years or more. However, in some cases, the lifespan of an epoxy floor can be shorter if it is exposed to heavy wear and tear or if it is not maintained properly.
To extend the lifespan of an epoxy floor, it is important to follow proper maintenance procedures, including regular cleaning, avoiding harsh chemicals, and repairing any cracks or chips in the surface as soon as possible. It is also important to follow the manufacturer’s recommendations for the type of flooring and the level of traffic the floor will receive.
In conclusion, always opt for the best epoxy floor coatings to maximize both functionality and aesthetics in your space.